LATE SUMMER SALE IS LIVE! SAVE $300+
⭐⭐⭐⭐⭐ 5/5 Rating (1000+ students)
"Outperforms classes by well-known instructors." — Moody, Student
From Default Cube to
Cinematic Renders in 2 Hours
Learn how to create awesome post-apocalyptic environments in Blender, no matter your skill level.
Students Reviews
⭐⭐⭐⭐⭐
"If you are a new or seasoned 3d artist you will reap huge benefits from being part of this community as it grows and evolves."
Bronan
⭐⭐⭐⭐⭐
"Extremely quick customer response + lot's of helpful very focused information and tools to work with."
Richrokk

⭐⭐⭐⭐⭐
"Simple to follow methodology I used to build on top of my existing skills. The Discord community is also awesome and full of different people working in 3D."
Jay Edwards

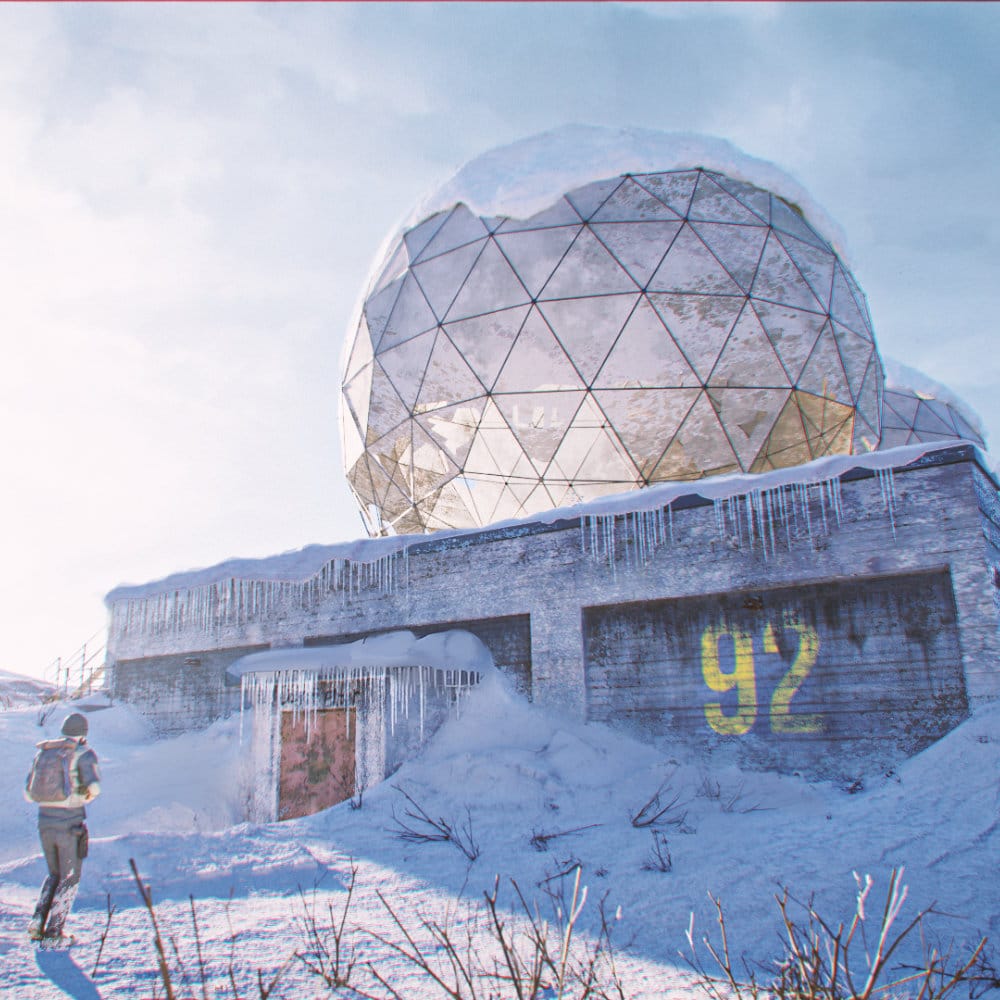
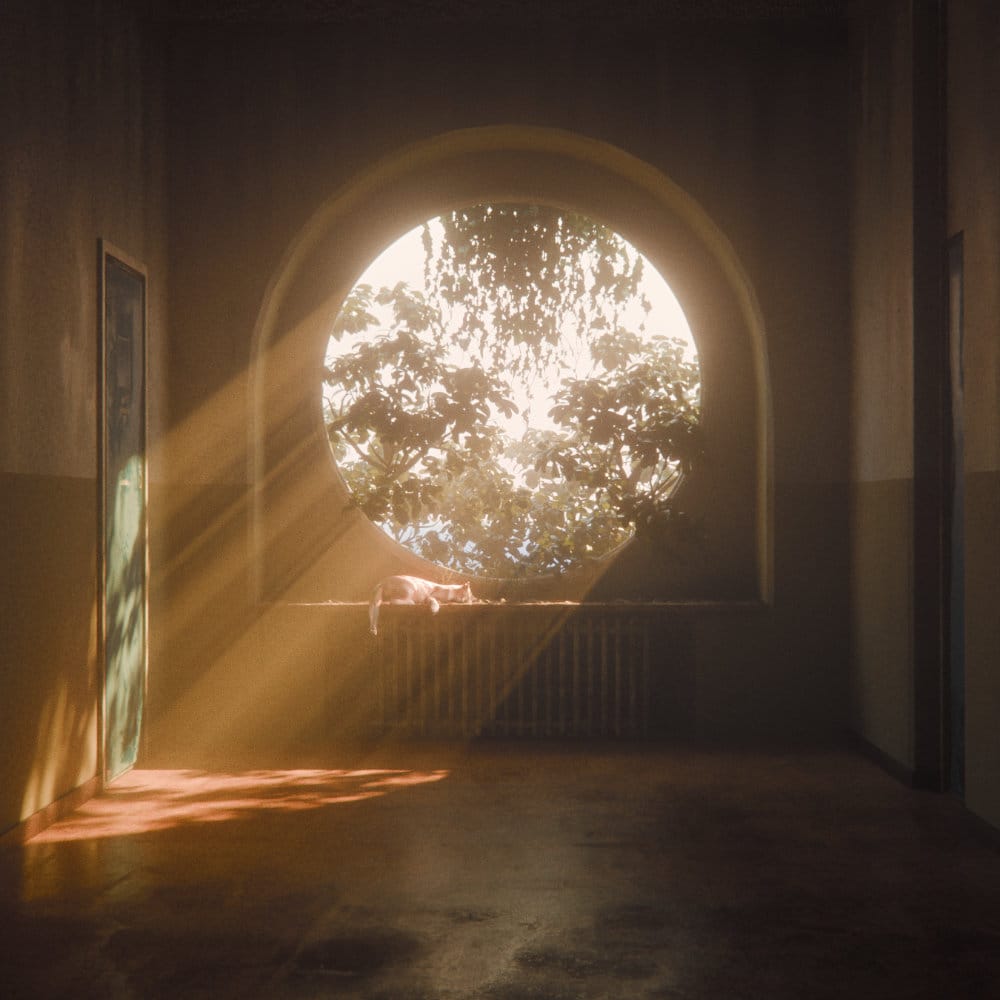
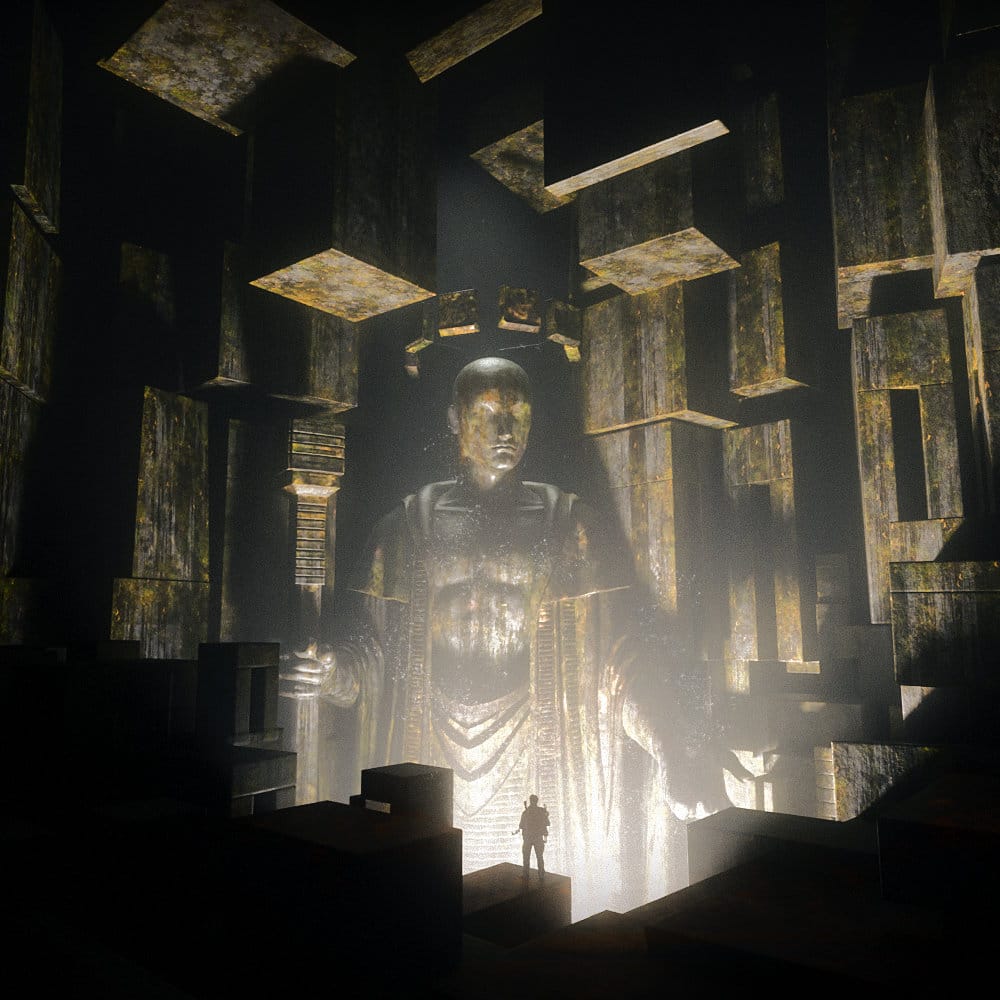
One Workflow. Endless Worlds.
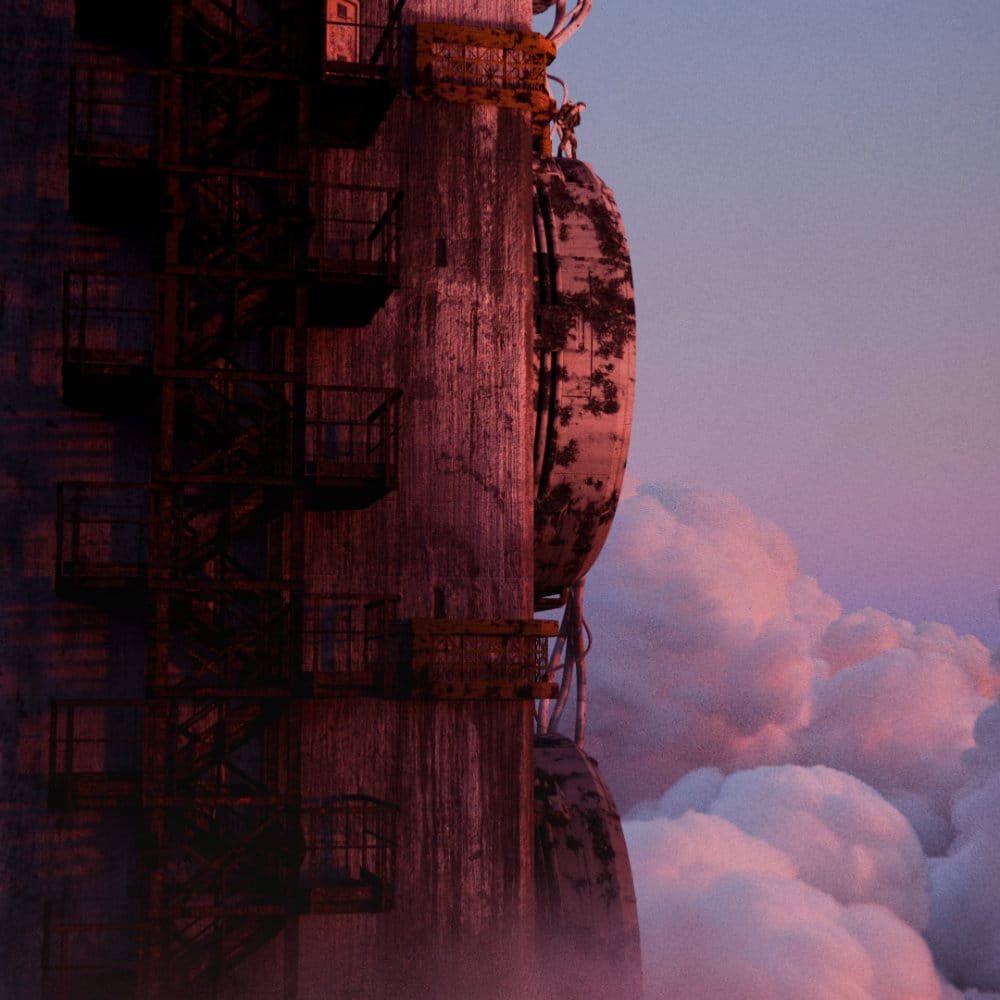
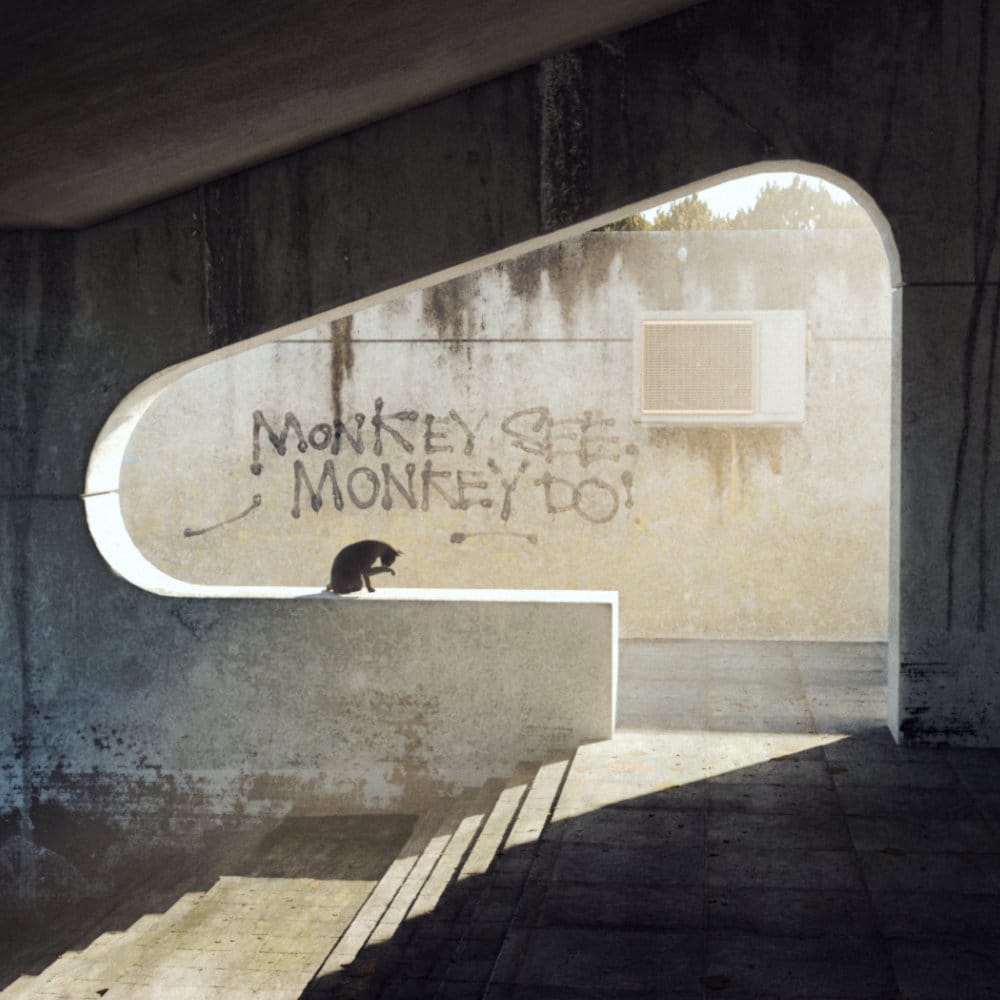
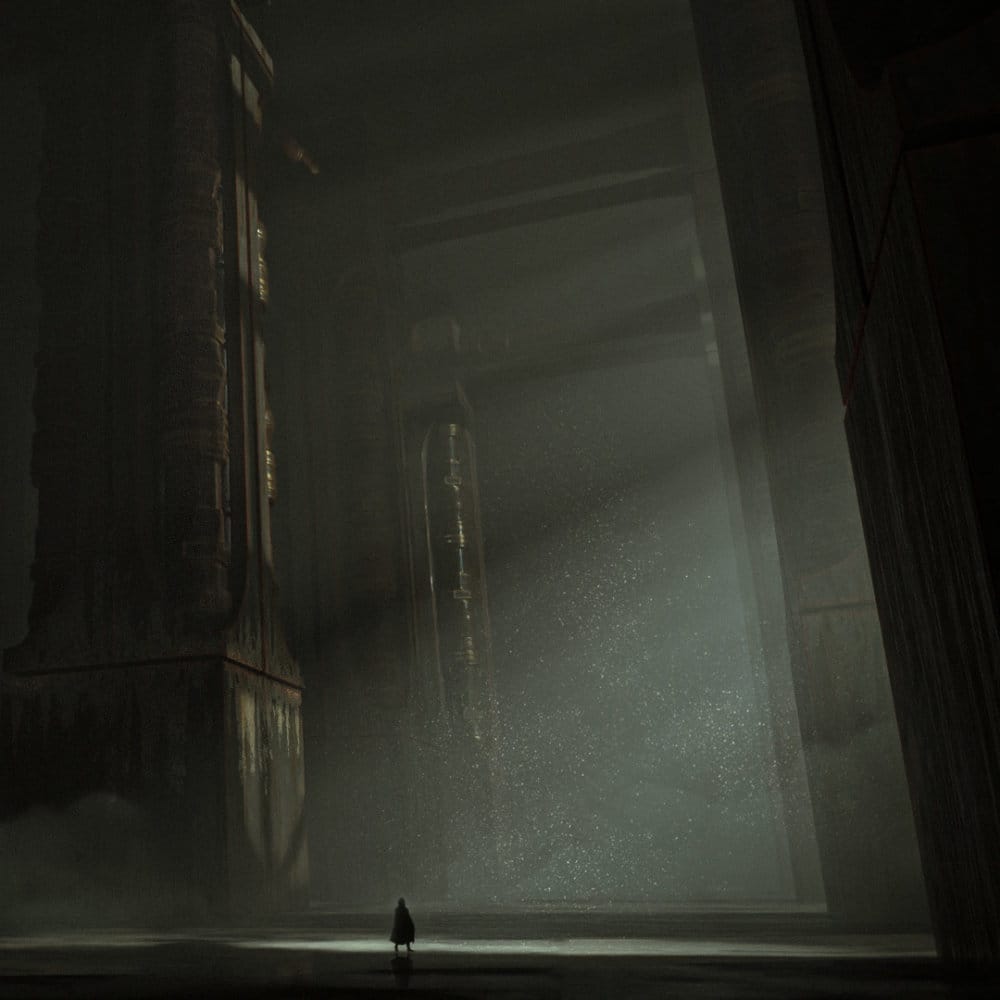
Every scene below was made using the exact same start-to-finish workflow we'll learn together.
What You Will Learn
Planning
Great 3D environments start long before you open Blender. Skipping proper planning is the #1 reason projects get abandoned halfway through or suffer from inconsistent scale and visual noise. In this module, you’ll learn:
How to build effective reference boards
Translating the real-world into 3D storytelling
Defining your primary focal point and narrative
Blockout
Creating a cinematic environment rarely needs more than a few basic shapes to start. The blockout stage is the foundation of your entire project; being sloppy here can create a mountain of technical debt further down the line. We will focus on:
Establishing scale, silhouette and composition early
Using "Big, Medium, Small" shapes to balance the frame
Navigating the 3D space to find the most impactful camera angles
Materials
Materials do the heavy lifting in any high-end render. They are your shortcut to realism, but it’s more than just slapping on a seamless 4K texture. In this section, we dive into the Blender Shader Editor to:
Build custom, non-destructive shaders
Layer grime, wear, and history onto your surfaces
Master the balance between reflectivity and roughness
Props
A post-apocalyptic world lives and dies by its "clutter", the decayed barrels, litter, and debris that tell a story. We cover the art of environmental storytelling without breaking your budget or your computer. You’ll learn:
Efficient placement strategies to fill large areas quickly
How to manage high object counts using instancing
The logic of "controlled chaos"
Atmosphere
You can have perfect models and 8K materials, but if the lighting is flat, the mood is gone. Lighting is the final glue that creates atmosphere and vibes. We will explore:
Key, Fill, and Rim lighting for environmental depth
Using light and shadow to guide the viewer's eye
How to use volumetrics for cinematic atmosphere
Animation
Don't let a still camera make your hard work look lifeless. Moving your camera the right way is the secret to adding energy, excitement, and a huge sense of scale to your artwork. We will explore:
Making smooth, natural movements that flow
Using angles and framing to guide the viewer’s eye
Adding a little camera shake for a realistic, handheld feel
Rendering
Don't let long render times kill your creative momentum. We’ll look at how to maintain crispy, sharp quality while slashing your wait times. This section covers:
The "Sweet Spot" settings for the Cycles engine
Using Denoising effectively without losing fine detail
Optimization tricks for standard hardware
Post-Processing
A raw 3D render is only half the battle, post-processing is where you add filmic atmosphere, depth, and pop. In this module, we'll cover industry-standard polishing techniques using powerful, 100% free software like Affinity Studio and Davinci Resolve.
Enhance depth, lighting, and atmosphere
Cinematic color grading, lens distortion, and film grain
Transform raw 3D outputs into polished artwork
Included Bonuses
To celebrate our Summer Launch, we are packing this release with exclusive bonuses!
Secure your lifetime access today with a single payment to get the full suite before the launch window closes.

3D Models
For every course we record, we create a bunch of 3D models that you can use directly and follow along with. These are captured by our team out in the real world, which ensures you get models that reflect real-life decay.
Captured from real-world decay
Optimized for rapid kitbashing
A versatile collection of heavy debris and structural elements
PBR Materials & Decals
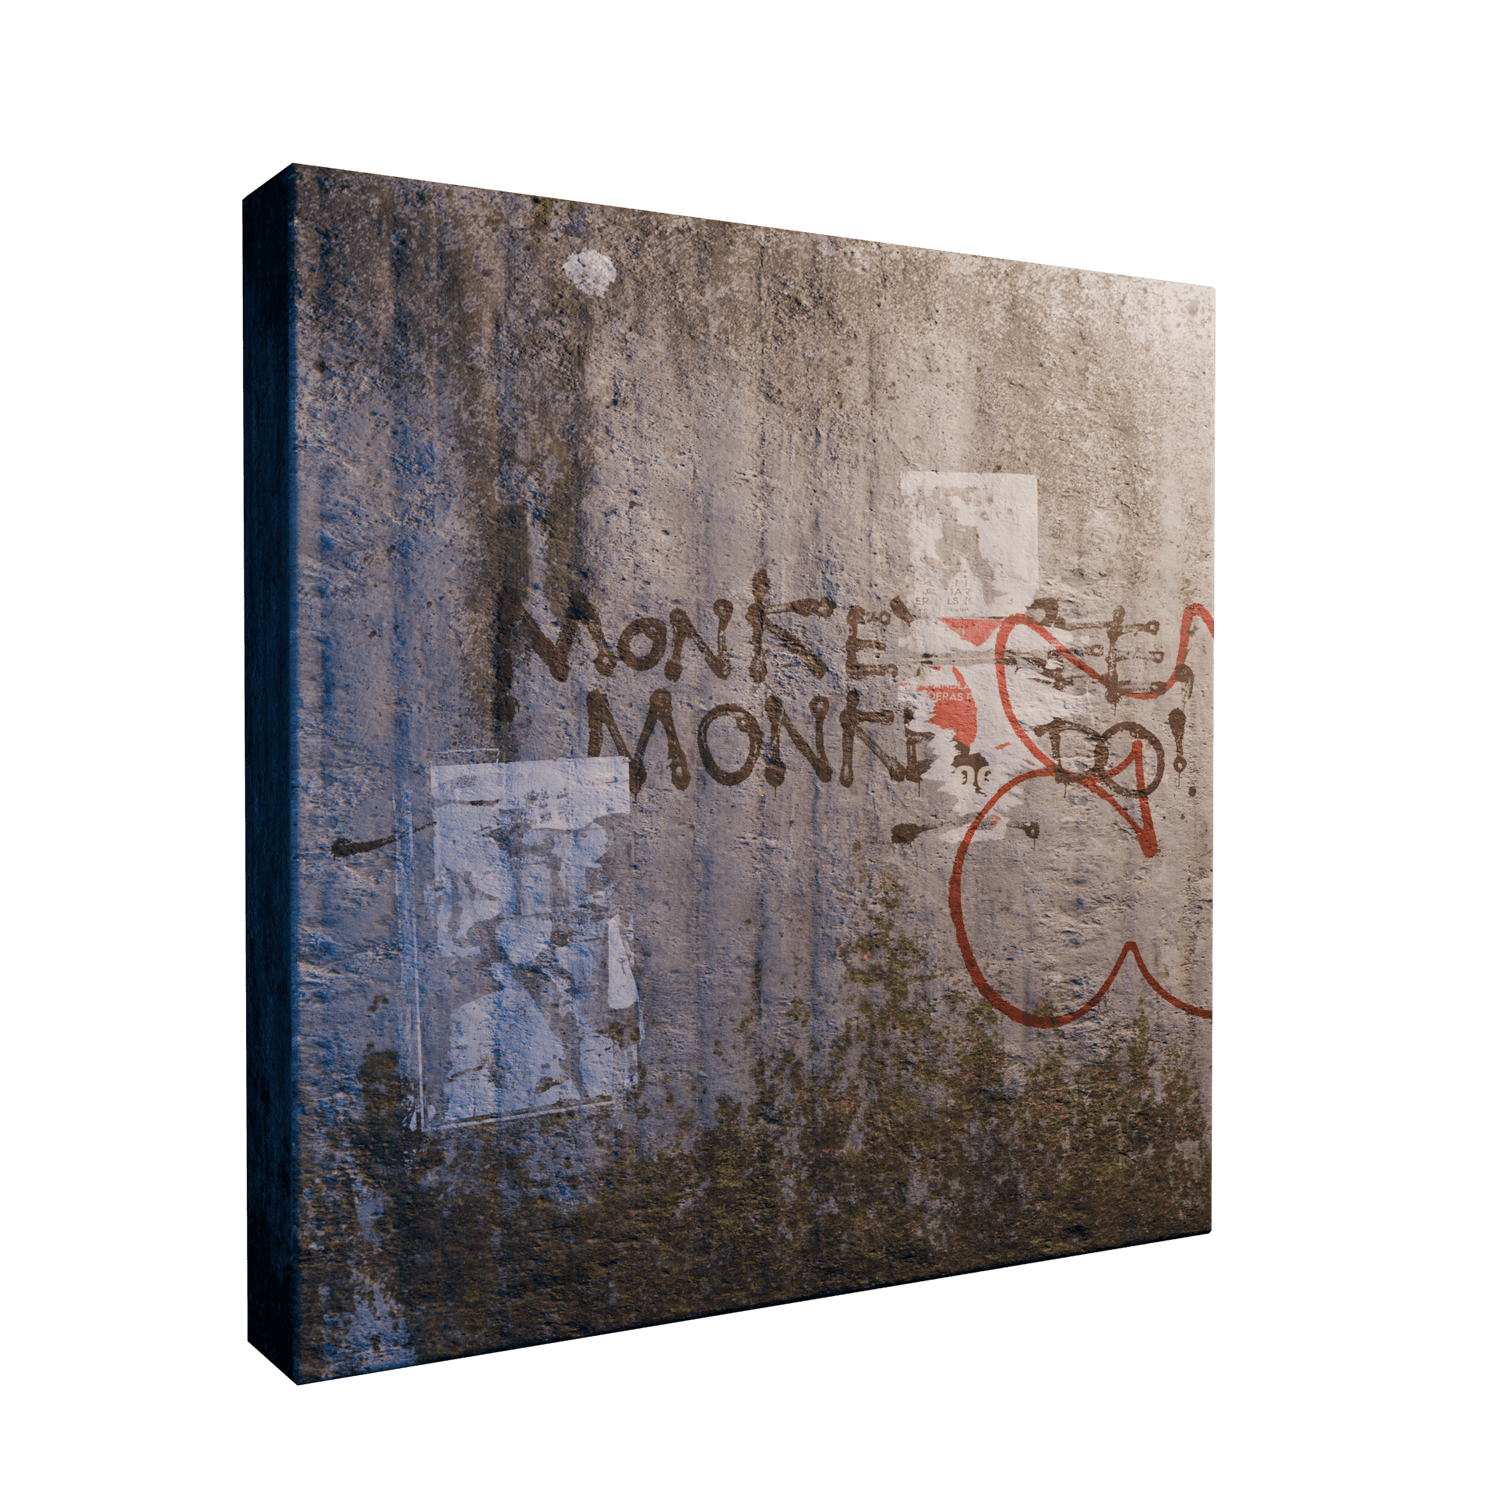
Just like with our 3D models, all of our materials and decals are captured IRL, opening up endless variations and textures. You also get our "smart" Blender shaders along with drag-and-drop decals that instantly add wear, tear, and depth to any surface in seconds without repetition.
Drag-and-drop decals
Smart shaders that automatically apply wear and tear
Includes customizable node groups
Project Files
Don't just watch me build it, get under the hood and explore the scenes for yourself. By downloading my .blender files , you can deconstruct every decision I make, from the first blockout shape to the final render setting.
Multiple environments and scenes
Explore behind the scenes
Access my custom node groups and shader setups
Edge Wear Shader
My 100% procedural Edge Wear shader dynamically detects high-curvature zones and hard edges on any mesh with no UV unwrapping or texture baking required.
Zero UV Unwrapping Required
100% Procedural & Infinite Resolution
Fully Customizable Node Group
The AoD Community
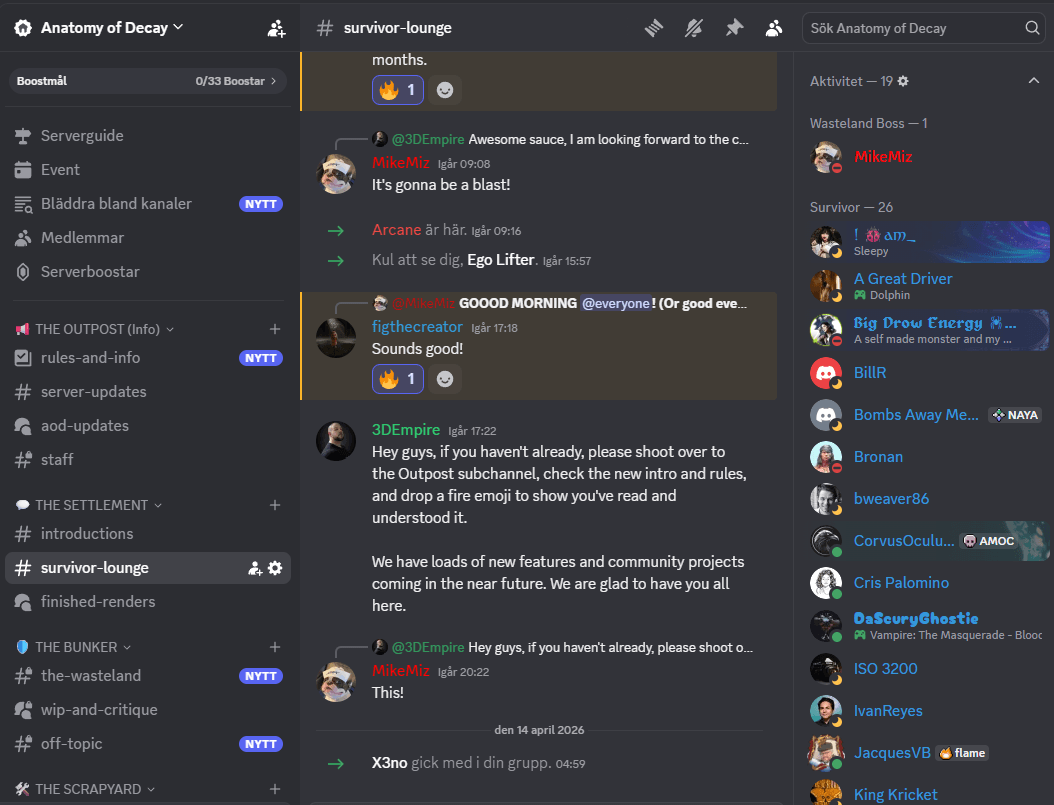
When you purchase Anatomy of Decay you're getting access to an active community of hobbyists, amateurs and professionals 3D artists.
Active Discord
3D art is not easy, especially if you're stuck trying to create something and just cannot figure out the next steps. Our Discord is full of active artists and game devs and growing steadily (1000+ members as of writing this).
Get help with anything related to digital art
Share your work in progress
Get feedback and constructive critique on your work
Just hang back, relax and chat to other artists
Regular Livestreams
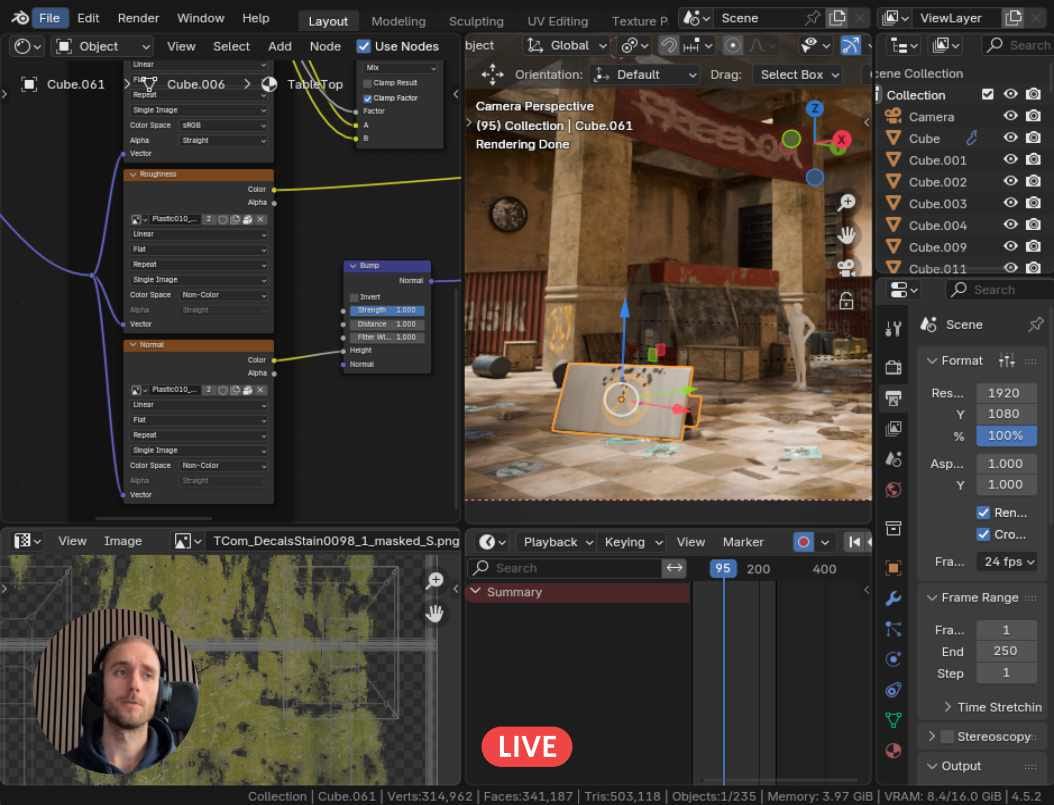
Watch over my shoulder as I create new dystopian and post apocalyptic environments in Blender and Unreal Engine.
Great way to learn new workflows
Ask me anything while streaming
Get live feedback and help with your projects
Community Challenges
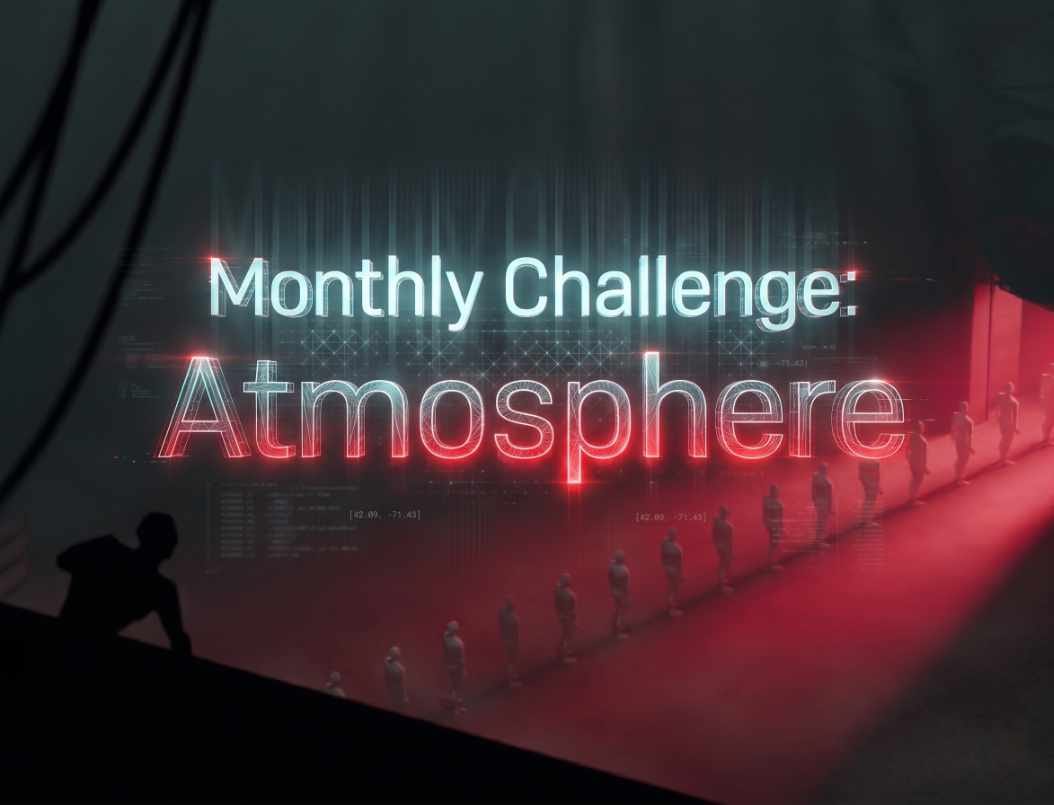
There's no better way to progress with your 3D skills than a good old challenge. Every month we challenge our students to create a specific scene with nice perks as the reward.
Adjusted to student levels
Great way to progress your skills
Rewards and perks for winners
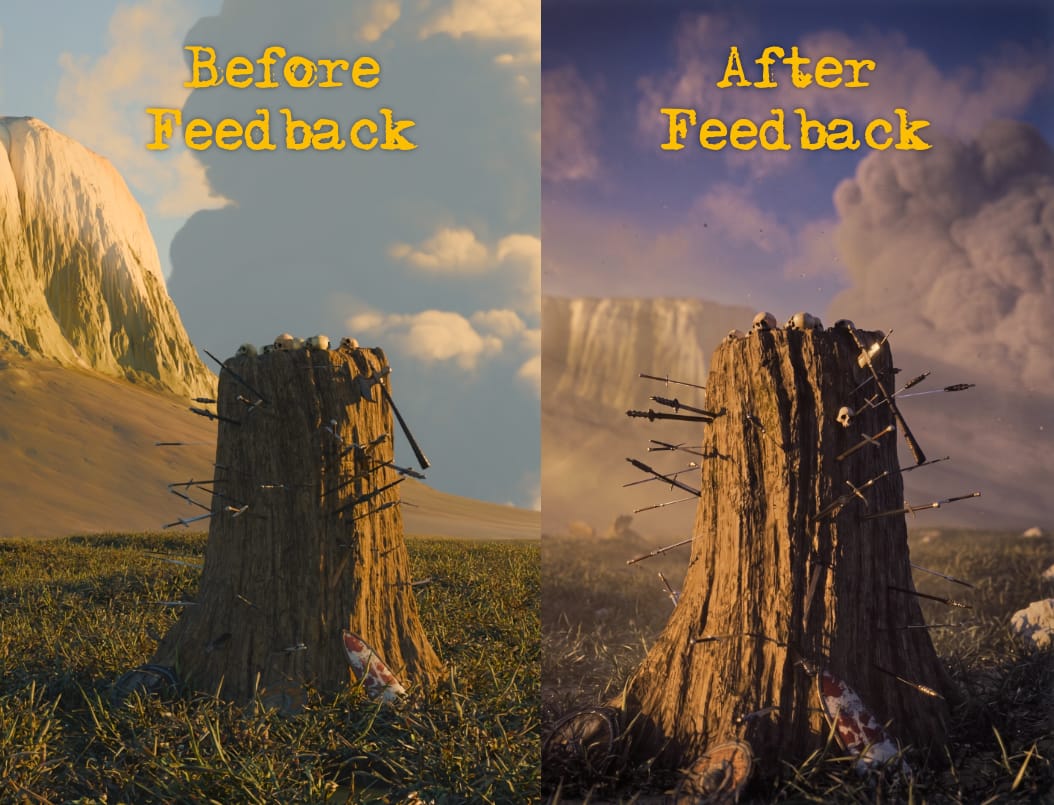
Student Feedback
Submit your work to receive tailored, constructive feedback from veteran 3D artists. Without a doubt, direct mentorship is the ultimate shortcut to refining your craft.
Fast-track your creative progress
Learn pro-level tips and tricks
Overcome technical roadblocks instantly
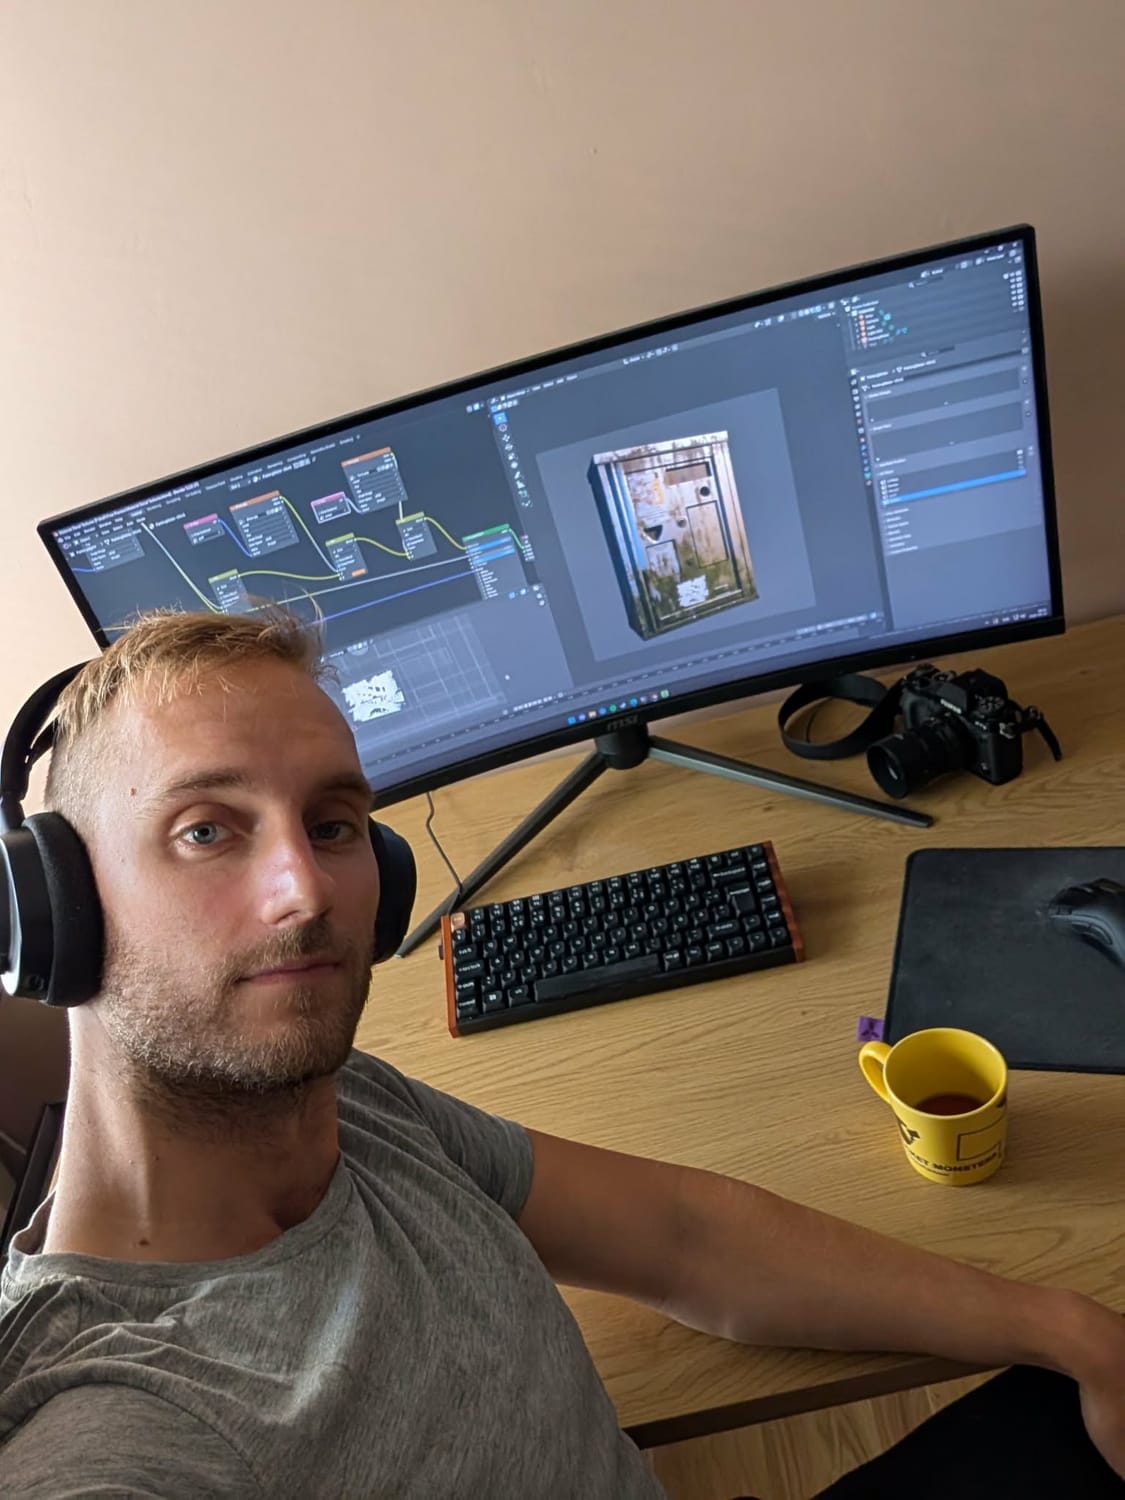
Meet Your Instructor
I’m a photographer and explorer at heart. For over 15 years, I’ve traveled to abandoned locations to document the beauty of decay through my lens. I translate that decade of real-world observation into 3D art that feels grounded and authentic.
I started my own Blender journey during the lockdown, proving you don't need decades of 3D experience to create professional art, you just need the right eye and the right workflow.
15+ years of urban exploration experience applied directly to 3D design
My work has been featured on BlenderNation, ArtStation, WoWHead, and top Reddit communities
I teach the exact "no-bs" methods that took me from beginner to featured artist in record time
Secure Your Lifetime Access
Get the masterclass, all bonuses and community access for a single one time payment.
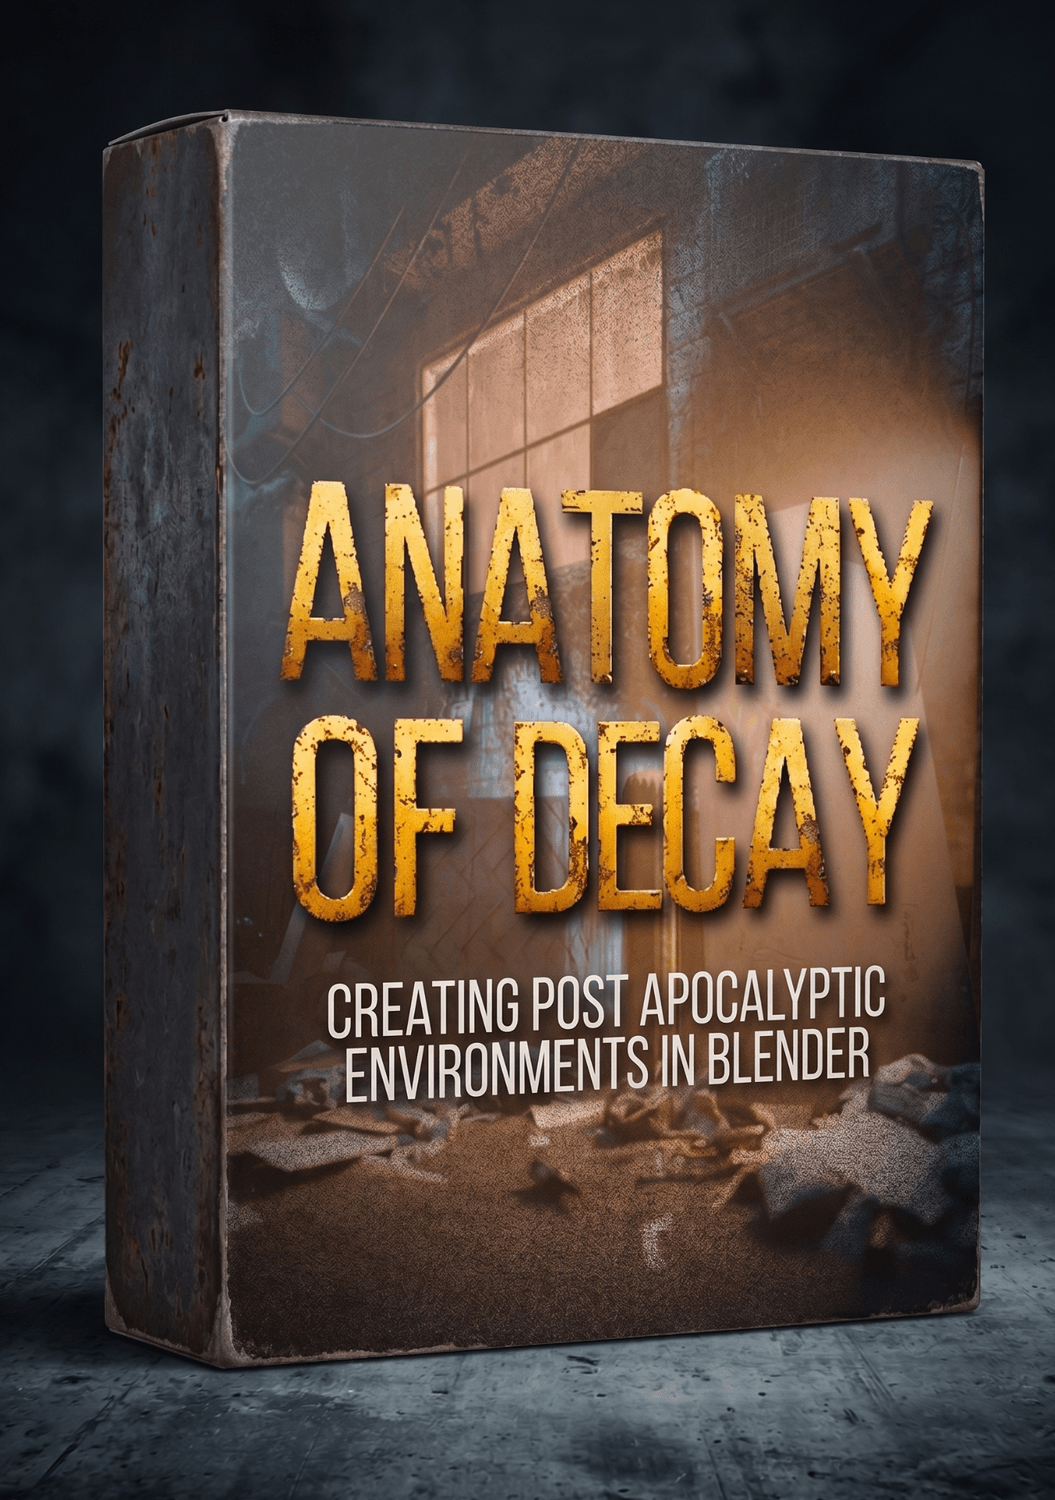
What's Included:
Anatomy of Decay Masterclass
Bonus: Complete 3D Asset Kit
Bonus: Decay Smart Material Library
Bonus: Urban Decal Library
Bonus: Multiple Project Files
Discord Community
Lifetime Access & Free Updates
Retail Price:
$359.00
Today's price:
$59.00

Frequently Asked Questions
You definitely don't need a massive, high-end supercomputer, but I wouldn't recommend trying to run this on a decade-old "potato" PC either. Throughout the course, I prioritize a very clean, optimized workflow.
We will primarily focus on Cycles to achieve those highly realistic, physically accurate cinematic renders you see in the promos. However, I am currently developing new sections dedicated specifically to Eevee workflows.
The masterclass was recorded using Blender 4.5 + 5.2. However, the core principles of environmental storytelling, composition, and lighting taught in this course are universal and translate seamlessly to the newest versions of the software.
Absolutely not. The entire workflow relies entirely on standard, built-in Blender tools.
Yes, you should be able to navigate inside of Blender to get the most out of this course.
Nope! We do not use AI for any part of the course and we teach 100% AI-free workflows.
We'll refund your full purchase if you don't like our complete bundle. Simple as that. :)
3D Model Preview
Give it a few seconds to load.
PBR Material Preview
Give it a few seconds to load.